Fishing with jigs is a well-established technique. Anglers have long used this type of lure to catch a variety of species, including bass, crappies, salmon, and steelheads. Fish are often drawn to an enticing lure that resembles either a potential meal or an instinctive reaction to attack.
Anglers successfully used floats to drift jigs in moving water or let them hang suspended in still water, gently moving them slightly. Another effective technique involves allowing the jig to bounce along the bottom.
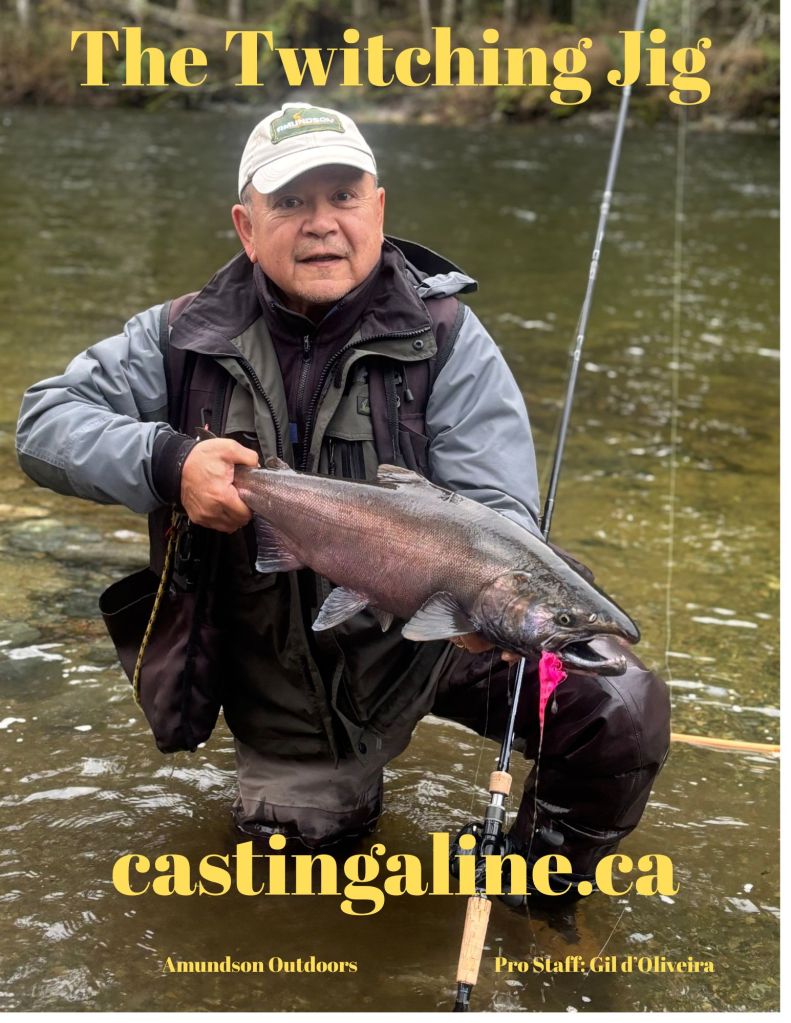
Over the past 15 years, anglers have discovered that by adding more action to jigs in the middle column of a body of water, they can achieve greater success. This is especially true in the later part of the season when the salmon become more aggressive. This has led to the development of twitching techniques, jig head designs, and the evolution of both natural and synthetic materials added to the jig. In today’s social media-driven world, sharing these methods has provided anglers with a fresh way to enhance their success. The main technique involves making the jig rise and then suddenly drop, repeating this motion without letting it touch the bottom. This motion triggers an instinctive aggressive strike.
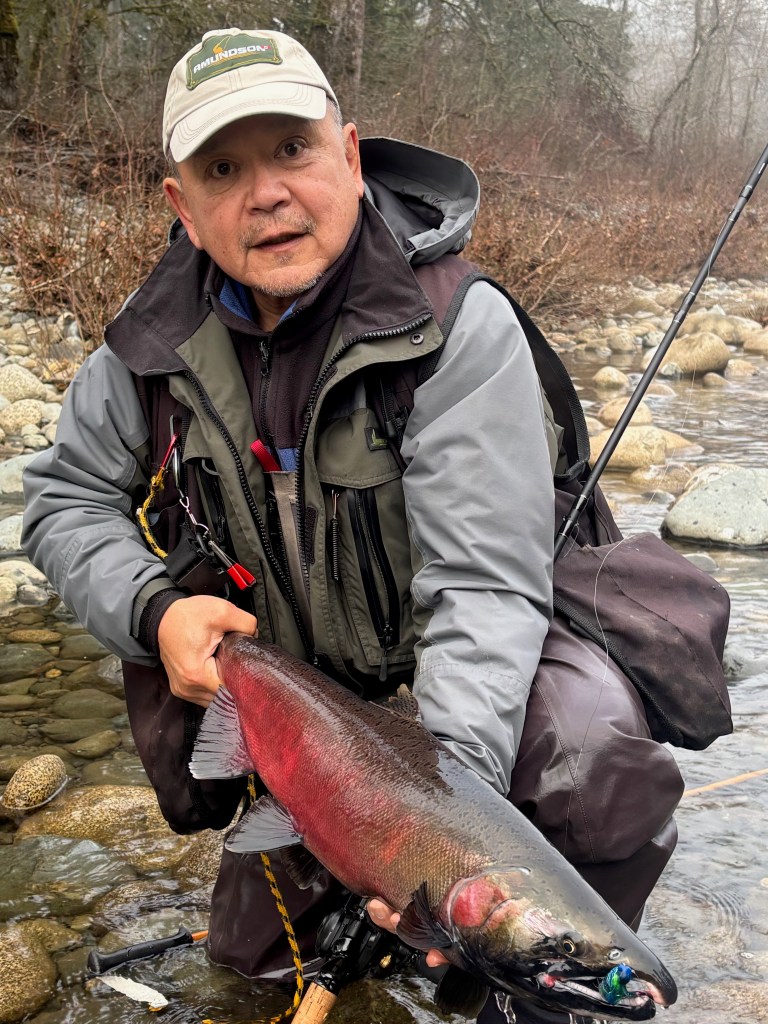
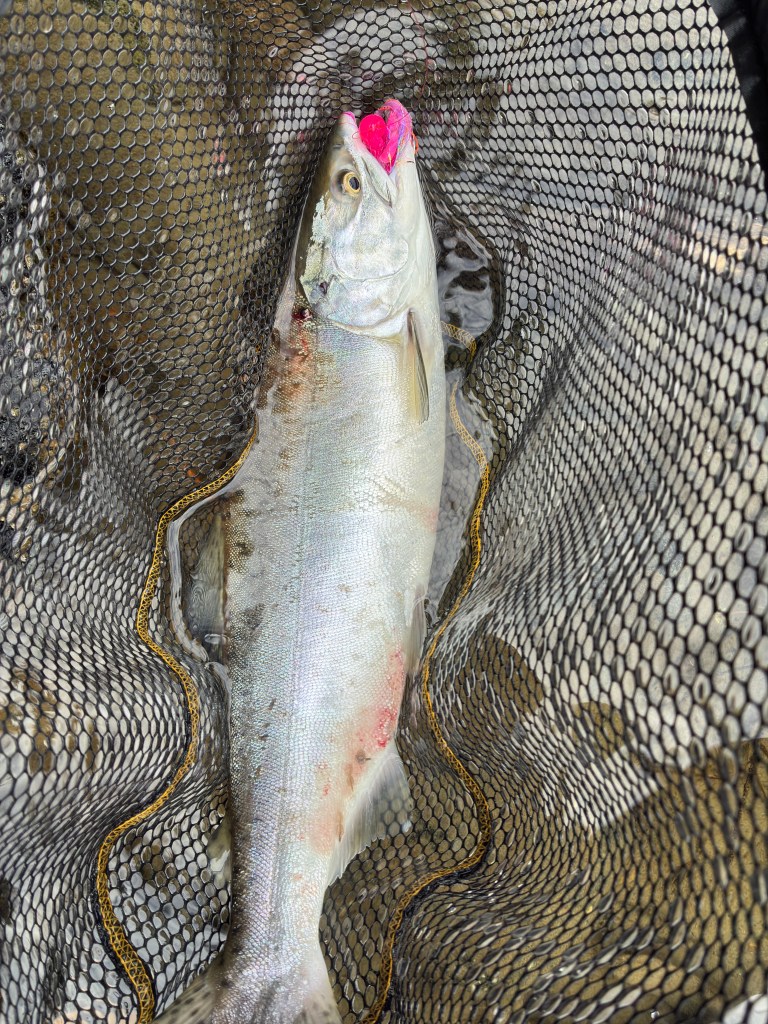
Often in the later part of the season, anglers find that the salmon will often resist any presentations of lures and bait. They commonly call it lockjaw. The twitch action, though, brings out the auto-aggression strike, and we have often caught salmon in late December.
The short rise and drop created the term “Twitch”. Many anglers who have successfully explored this technique will have created their own twitch technique based on their past successes or failures.
The casting method involves casting a jig upriver, directly across or downriver about 45 degrees and performing a series of quick upward flicks with the rod tip, followed by letting the braidline slack on the surface before retrieving it. Several factors influence the timing of the twitches, such as the speed of the river flow and the water depth. Additionally, the weight of the jig and the angle at which you’re casting—whether upstream, straight across, or slightly downstream—play crucial roles. In my experience, it’s best to avoid letting the jig touch the bottom unless you’re specifically trying to determine the depth.
At each new location, I would time my first cast on how many seconds it takes for the jig to reach the bottom. Once it touches the river bottom, I quickly retrieve it to avoid getting snagged. For instance, if it takes 10 seconds to touch the bottom, my twitching speed will be anywhere between 2 and 8 seconds, depending on the desired depth in the water column. Do not be surprised that the salmon strike within the first two twitches.
Timing will also vary as the jigs encounter resistance from the river current. For example, when casting slightly downriver, I will do the twitch but delay retrieving the line during the twitch, as often the river current is picking up the slack. It’s a learning process, and during this time, you have to accept that you’ll eventually lose some jigs.
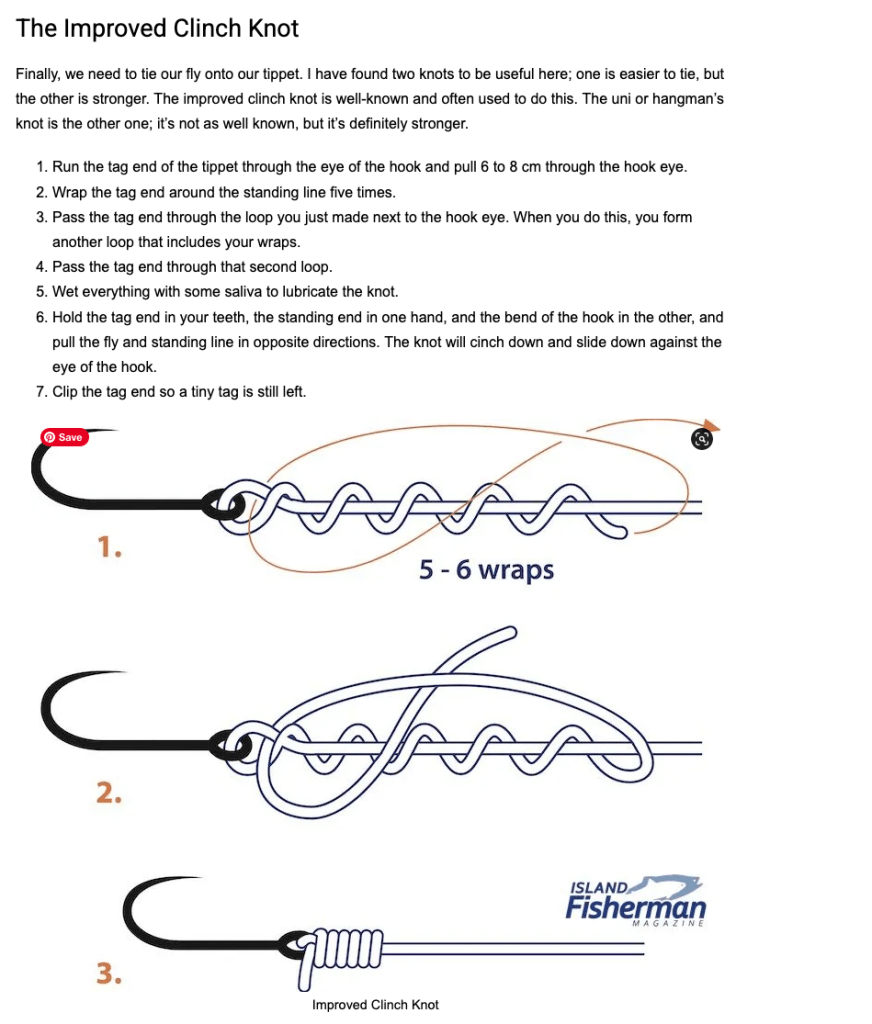
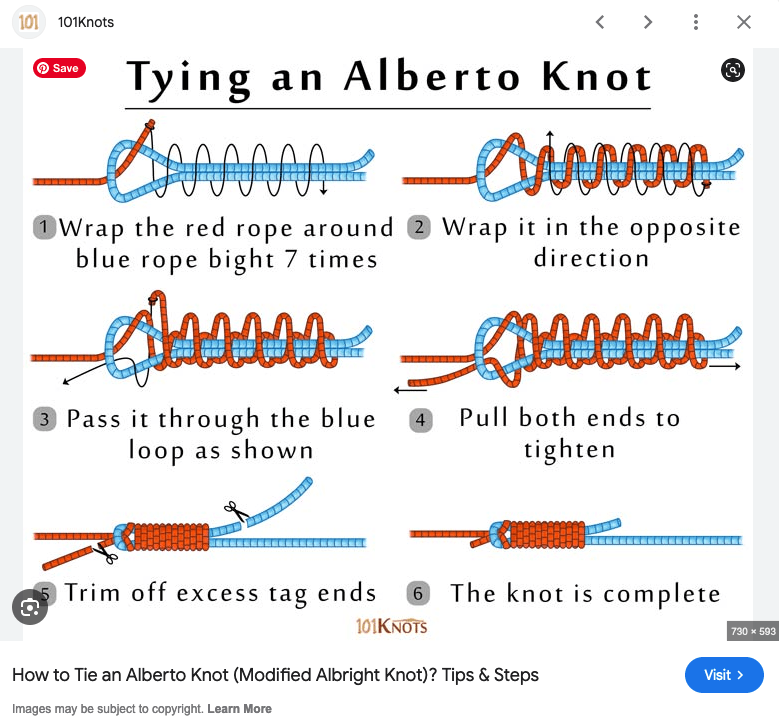
Pro Tip: wet knot and slowly draw the knot together to avoid creating heat friction that will weaken the knot
Using braid as the main line is ideal because it floats on the water’s surface and has no stretch. This results in less resistance when retrieving the slack line off the surface. I typically use a leader that is 3 to 4 feet long, and several knots can effectively join braid to monofilament. My preferred choice is the Alberto knot.
Anglers often will tie their leader to the jig using a firm, stationary knot, such as a tight clinch knot. However, I have found that using a loop knot allows the jig greater freedom of movement, enabling the jig to dip or raise its head more effectively when twitched. The knot that works best for me is the “Kreh Knot,” also known as a non-slip loop knot.
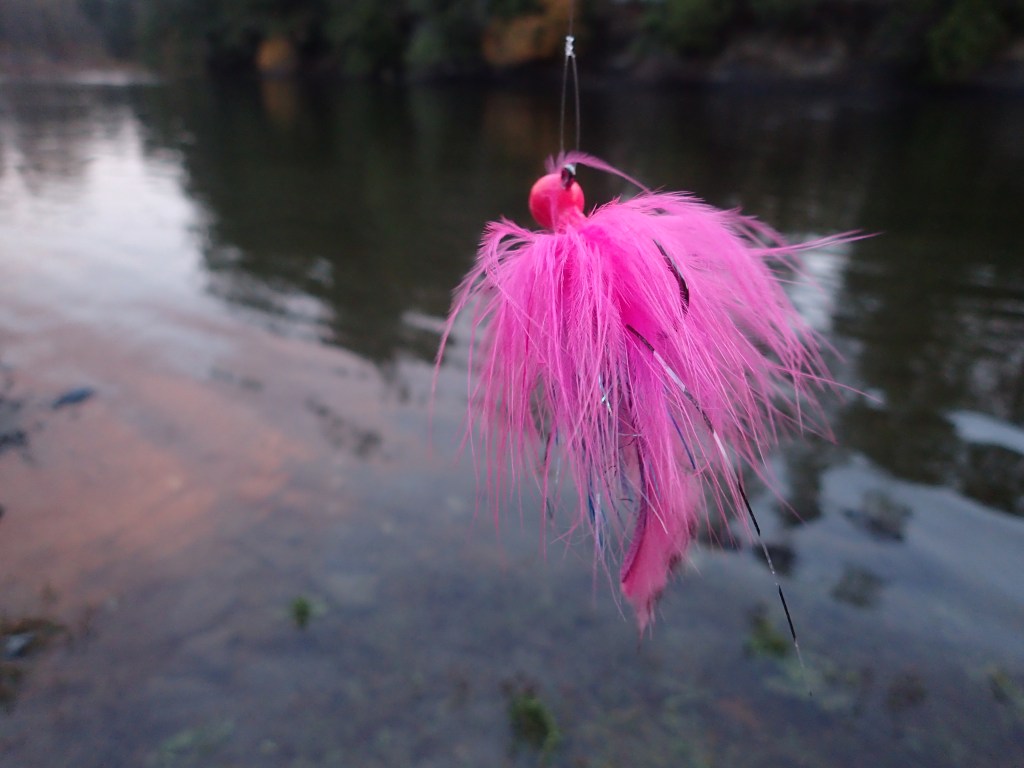
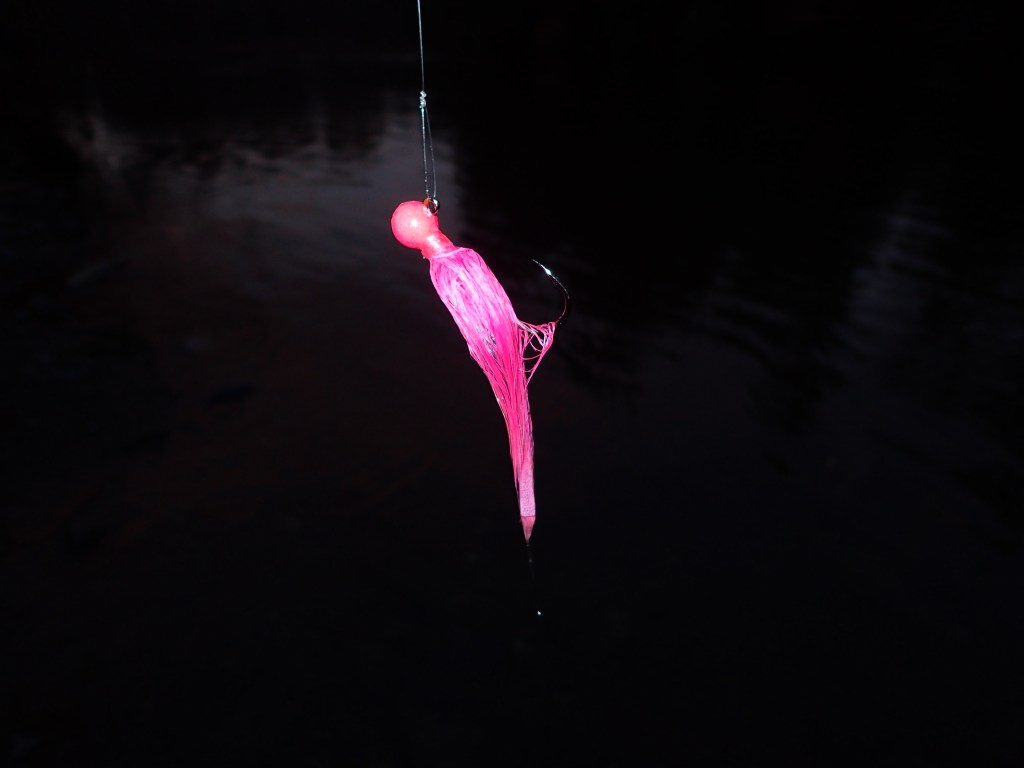
When creating a twitching jig, the material used must create movement like fluttering, pulsating, or wiggling. That is why there is always a tail beyond the jig’s body.
I carry a variety of weighted jigs, ranging from 1/4 ounce, 3/8, and 1/2 ounce. This selection effectively allows the angler to adapt to the changing river flows. The shape of the jig’s weighted head has evolved from round to cone-shaped and now to cylindrical, and I am sure manufacturers will continue to innovate with different designs.
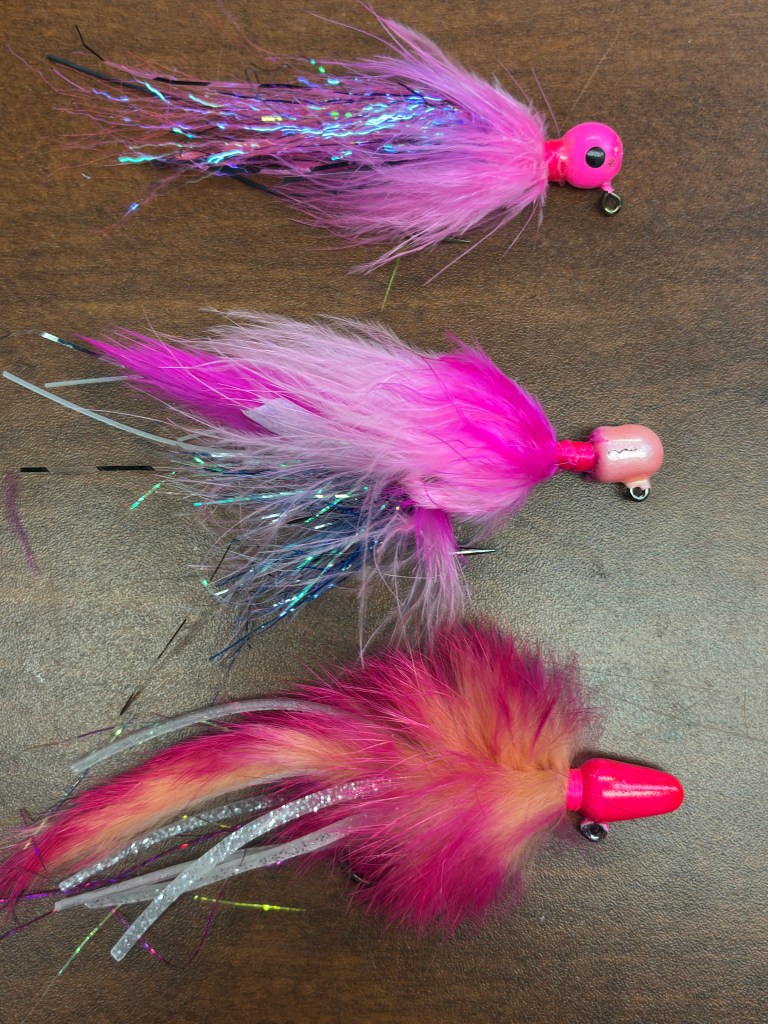
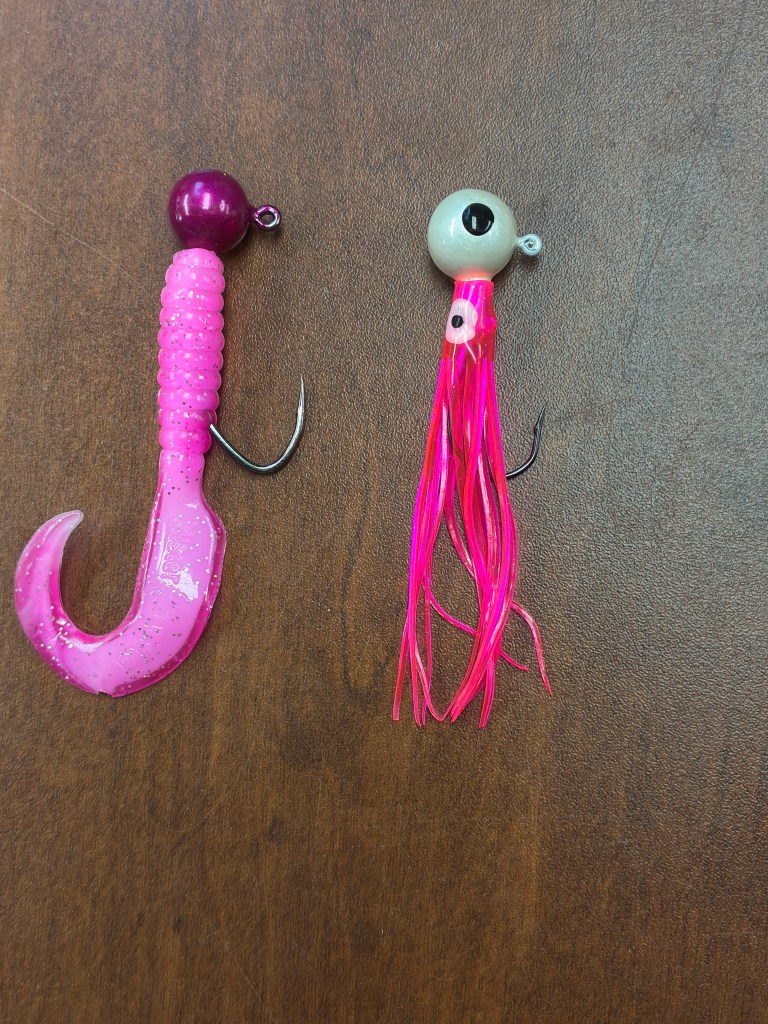
The bodies of jigs have evolved from rabbit fur tails to natural feathers, transitioning from fur to synthetic materials. Lately, anglers have been adding a grub curly tail hootchie with many flexible tendrils with success. The possibilities for creativity are endless. I enjoy using a combination of rabbit fur for the tail, synthetic materials for the body, and thick collars of marabou.
Pro Tip: When adding a grub curly tail, it should be long enough that the hook extrudes near the belly of the grub, and the body of the grub is straight. Also, if you position the tail away from the hook, there is less chance of the tail tangling with the hook.
There are no limits to creativity and colour for the jigs, and many anglers have their favourites.

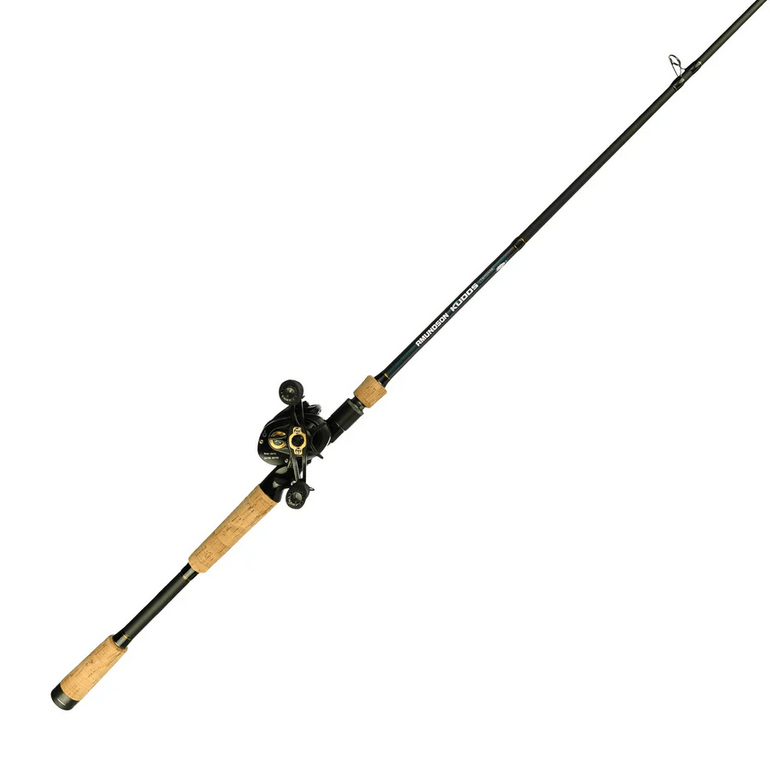
Amundson KDS-2 spinning………….Amundson KDC12-l casting
The 8 to 9-foot medium action rods are ideal because they are shorter, providing better control for twitching. I find it detrimental to use longer rods; the angler is trying to recover from the bend of the rod before picking up the slack line from the surface. It’s also harder on the wrist.


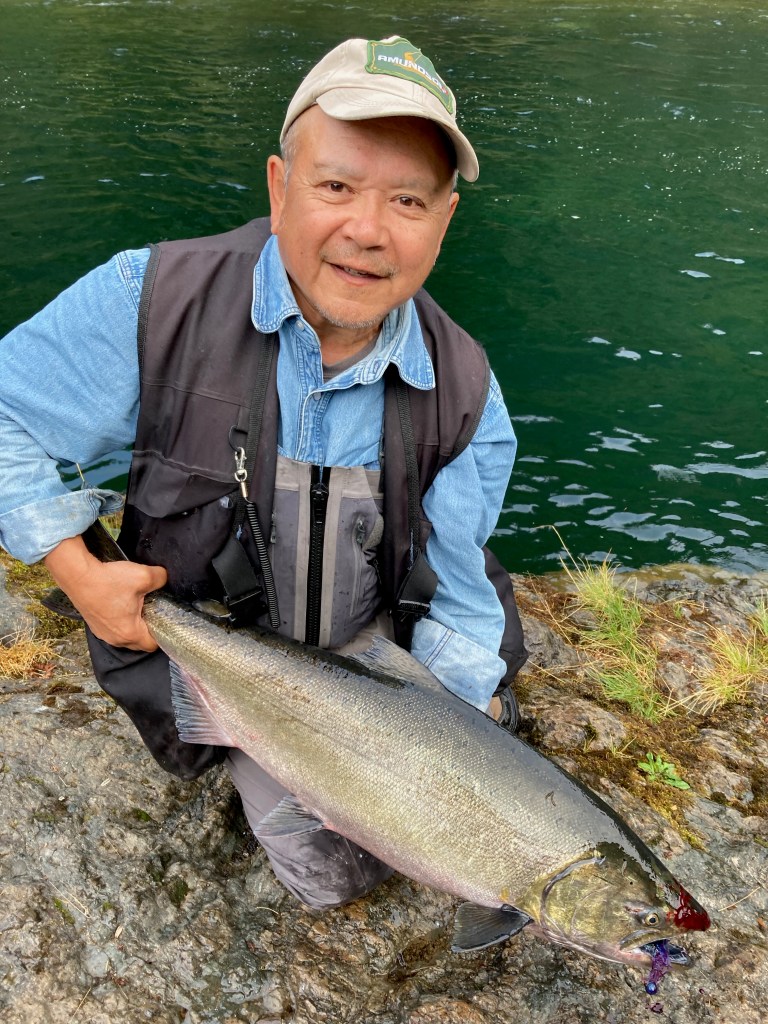
This year marks my third year using this technique, and I’m looking forward to it. In my first year, I successfully used it for spring salmon. Last year, we achieved double-digit catches for coho. While many were complaining that the coho were not biting (often referred to as “lock jaw”), we were still able to catch them, even in December. This year, on my bucket list is the pink salmon.
Embrace creative thinking and explore new techniques. Break free from traditional methods and enjoy the journey!
Discover more from castingaline.ca
Subscribe to get the latest posts sent to your email.

